Helloooo friends! Today we are tackling one of the biggest YouTube trends — EDIBLE school supplies! But of course, we’re going to put the Kawaii Sweet World twist on it and make them both kawaii and delicious! So okay, maybe these don’t make great school supplies for real, but they are tasty and fun to make ? Enjoy, and make sure to share pictures of your treats on Facebook and Instagram with the hashtag #kawaiisweetworld!
Apple Macarons
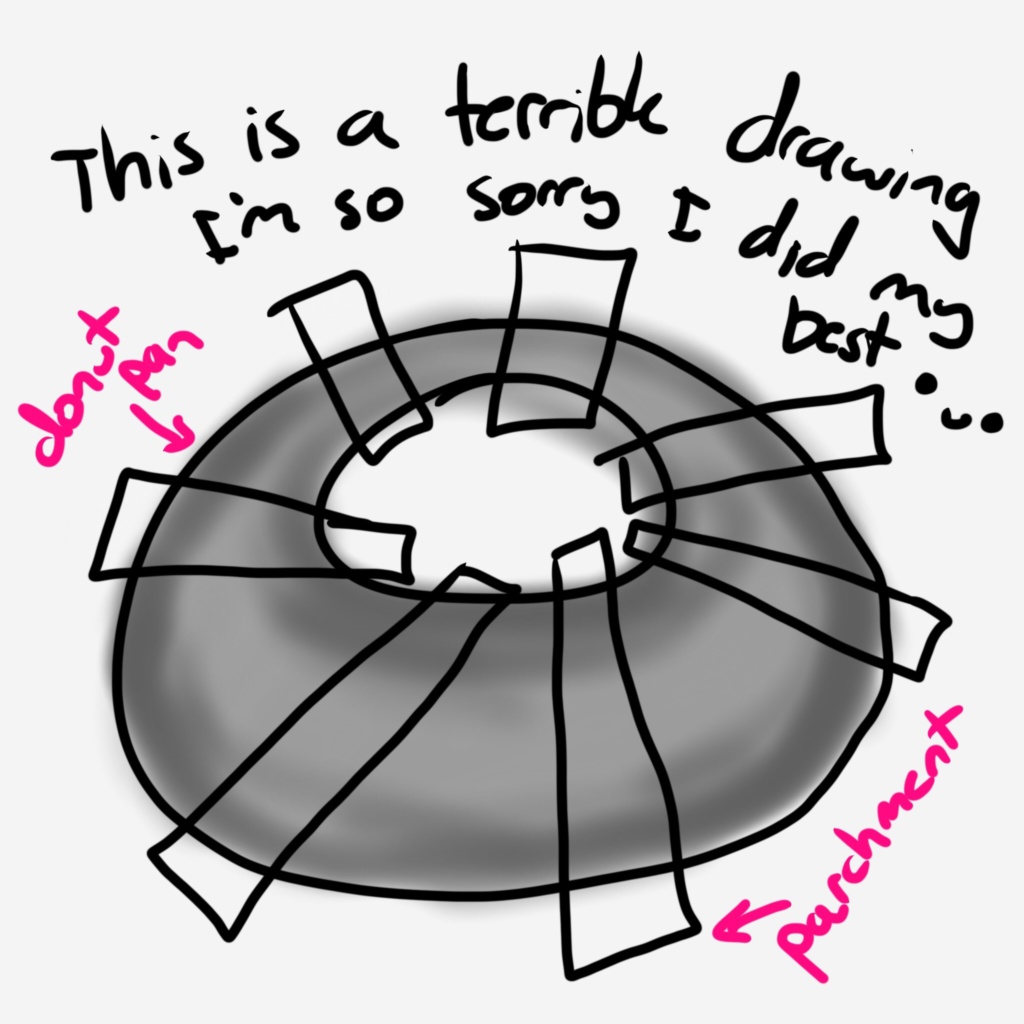
APPLE TEMPLATE
Ingredients
- 3 egg whites
- 1/4 cup white sugar
- Red gel food color
- 1 cup almond flour
- 2 cups powdered sugar
Directions
- In a large bowl, beat egg whites until foamy. Gradually add in white sugar, then continue beating for 6-8 minutes or until stiff peaks form. Mix in red gel food color.
- In a separate bowl, sift together almond flour and powdered sugar. Whisk to combine.
- Add dry ingredients to egg white mixture and fold to combine. Continue mixing until macaron batter resembles magma — it should flow off the spatula slowly but continuously.
- Transfer to a piping bag and pipe out macarons on apple template. Let rest for 30-45 minutes or until macarons do not stick to your fingers when lightly tapped. Preheat your oven to 300F during this waiting period.
- Bake macarons for 12-13 minutes. They’re ready when the tops of the macarons do not move from the feet when pushed lightly.
- Let macarons cool, then fill with buttercream and decorate with royal icing.
Buttercream Frosting
Ingredients
- 3 cups powdered sugar
- 1 cup (2 sticks) softened butter
- 1 tsp vanilla extract
- 1-2 T milk
Directions
- In a large bowl, cream together powdered sugar and butter until light and fluffy. Mix in vanilla extract, then pour in milk and mix to combine.
Royal Icing
Ingredients
- 3 T meringue powder
- 4 cups powdered sugar
- 5 T warm water
- Gel food color
Directions
- In a large bowl, whisk together meringue powder and powdered sugar. Mix in warm water, 1 tablespoon at a time, then add enough food color to reach desired color.
Best Ever Chocolate Brownies
Ingredients
- 1 cup (2 sticks) melted butter
- 2 cups white sugar
- 1/2 cup unsweetened cocoa powder
- 4 eggs (room temperature)
- 1 tsp vanilla extract
- 1 1/2 cups flour
- 1/2 tsp baking powder
- 1/2 tsp salt
Directions
- Preheat oven to 350F. Grease a 9″ x 13″ pan with cooking spray, then line with parchment paper. Grease once again with cooking spray.
- In a large bowl, mix together melted butter and white sugar. Stir in cocoa powder, then mix in eggs one at a time. Pour in vanilla extract and stir to combine.
- Add in flour, baking powder, and salt. Mix just to combine, then pour into prepared pan. Bake for about 20 minutes or until a toothpick inserted into the center comes out clean.
- Let cool completely, then remove from pan. Decorate as desired with buttercream frosting.
Perfect (no-spread!) Sugar Cookies
Ingredients
- Cookies
- 1 cup (2 sticks) butter
- 1 cups white sugar
- 2 eggs (room temperature)
- 2 tsp vanilla extract
- 3 cups flour
- 1/2 tsp baking powder
- 1/2 tsp salt
- Food color in white and yellow
- For notebook cookies
- 1/2 tsp clear vanilla extract
- 1 drop gel food color in blue and red
- Black frosting for decoration
- For ruler cookies
- Black frosting for decoration
- Black edible ink marker
Directions
- In a large bowl, cream together butter and sugar, then mix in eggs one at time. Mix in vanilla extract.
- In a separate bowl, whisk together flour, baking powder, and salt.
- Add half of dry ingredients to wet ingredients and mix to combine. Mix in second half, then divide into two separate bowls. Color one bowl with yellow food color and the other with white. Wrap both doughs in plastic wrap and refrigerate for at least 30 minutes.
- Preheat oven to 350F and line a baking sheet with parchment paper.
- Roll out dough on a floured work surface and cut out cookies. Place on baking sheet and bake for 9-10 minutes.
- Let cool completely, then decorate as desired! For notebook paper cookies, mix together clear vanilla extract and gel food color. Paint on to mimic notebook paper lines. For ruler, use black edible ink marker to make lines.